Download the
Paisabazaar app Today!
Paisabazaar app Today!
Get instant access to loans, credit cards, and financial tools — all in one place

Win Assured Cashback
Our Advisors are available 7 days a week, 9:30 am - 6:30 pm to assist you with the best offers or help resolve any queries.


Get instant access to loans, credit cards, and financial tools — all in one place

Scan to download on


Our Advisors are available 7 days a week, 9:30 am - 6:30 pm to assist you with the best offers or help resolve any queries.

Check Free Credit Score & Win up to ₹1 lakh


Let’s Get Started
The entered number doesn't seem to be correct

Punjab National Bank offers various modes of fund transfer facilities to its accountholders. One such payment and fund transfer facility is of the UPI that is probably the most user-friendly method of fund transfer. UPI or Unified Payments Interface is a fund transfer mechanism provided by NPCI through which one can transfer funds online on a real-time basis at no extra cost.
The bank offers this facility through two mobile apps – PNB One and BHIM PNB UPI app. Accountholders can install and transfer funds through PNB One app on their iOS and Android smartphones. In addition to that, Android users can use BHIM PNB to make UPI transactions. The accountholder can transfer funds using the apps with the help of a payment identifier like account number, IFSC, virtual payment address, or QR code. Let us understand more about PNB UPI below.
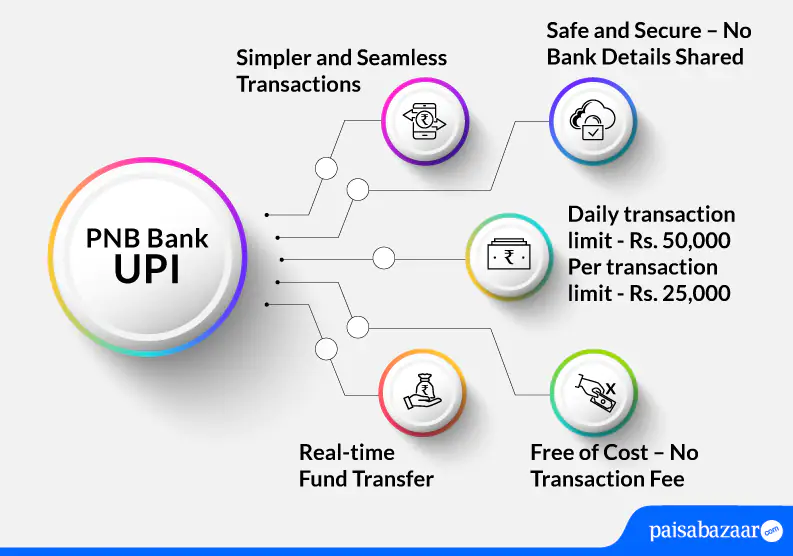
Below-mentioned are the features of Punjab National Bank UPI App:
Punjab National Bank UPI supports below-mentioned UPI transactions:
Also Read: UPI (Unified Payment Interface)
For the first time user, the transaction limit is Rs. 5,000 for the first 24 hours. Thereafter, per transaction UPI limit of PNB is Rs. 25,000, and per day transaction limit is Rs. 50,000.

Get FREE Credit Report from Multiple Credit Bureaus Check Now
PNB ONE application is available on both the platform Google Play Store and iOS. This PNB mobile banking app allows an accountholder to access most of the online services.
Requirements to access PNB ONE
It is advised to keep your debit card handy and its PIN ready before registration.
The below-mentioned steps explain how to register for PNB ONE application:
Step 1: Once you download the app from app store, click on ‘New User’
Step 2: Click on ‘Continue’ on the next page
Step 3: Enter your 16-digit account number. Choose registration channel and preferred mode of operation
Step 4: Enter the OTP received on your registered mobile number
Step 5: Enter your debit card number and ATM PIN. Click on ‘Submit’
Step 6: Set your ‘Sign in’ and ‘Transaction’ password then click on ‘Submit’ (Password should be between 6-28 characters and must be alphanumeric having a special character)
Step 7: Registration will be done successfully. Note down your User ID as shown on the screen and click on ‘Sign in’
Step 8: Enter the User ID that was created and click on ‘Sign in’. Verify your mobile number that you have registered with the bank and tap on ‘Continue’
Step 9: You will receive an OTP on your registered mobile number. Enter that OTP and click on ‘Continue’
Step 10: Create an ‘MPIN’ of 4-digits and click on ‘Sign in’
Step 11: On the next screen, enter the 4-digit MPIN and start availing UPI services
The below-mentioned process explains how to send money using PNB ONE UPI app:
Step 1: Open your PNB ONE UPI app and navigate towards dashboard
Step 2: Tap on ‘UPI’ and on the next page, click on ‘Send Money’
Step 3: On the next page, you will see two options to send money namely ‘Pay by VPA’ and ‘Pay by Account and IFSC’. Choose your preferred mode of transaction
Step 4: Tap on ‘Pay by VPA’ and add details such as debit account, type of payment (choose non-registered beneficiary if you have not added the beneficiary already), add beneficiary’s VPA, amount that needs to be transferred, and remarks. Click on ‘Continue’.
Step 5: Verify the provided details on the next page and click on ‘Submit’
Step 6: Add your TPIN. You will receive an OTP upon adding TPIN on your registered mobile number. Add the OTP and click on ‘Confirm’.
Step 7: Your transaction will be successful as you confirm your transaction
It is to be noted that if the user leaves the process in between, he/she will have to follow the procedure to make fund transfer through PNB ONE UPI all over again.
Get FREE Credit Report from Multiple Credit Bureaus Check Now
To receive or request money on Punjab National Bank UPI App, the user can refer to the below-mentioned steps:
Step 1: Open your PNB UPI app and enter the app login passcode
Step 2: Tap on ‘Request Money’ option and input the mobile number or VPA to collect money
Step 3: Click on ‘Verify’ to check the name of payer
Step 4: Add the amount, validity and remarks. Tap on ‘Request’ (The maximum validity to request money transaction is 45 days)
Step 5: The request will be sent to the payer and you will receive the confirmation of the request sent on your screen
In case of any issues related to UPI, customers can call the bank on the bank’s toll-free numbers mentioned below:
Customer can also email the bank at – care@pnb.co.in
Also Read: PNB Bank Customer Care
Q. Does PNB Bank levy charges to make UPI transactions?
Ans. Currently, the bank does not levy any charges to make UPI transactions. It is free of cost.
Q. Even after entering valid debit card details, I am unable to set UPI PIN for my account. What should I do?
Ans. In such a case, you must contact your bank and ask for assistance.
Q. Is it possible to stop UPI payment?
Ans. UPI payment once initiated cannot be stopped.
Q. I was doing UPI transaction and my account got debited but the transaction failed. What should I do?
Ans. If your account has been debited and the transaction has failed while making UPI transaction, the funds debited from your account will be refunded to your account within a few minutes. In case, you do not receive back your funds, you can reach out to your bank.
Q. How to register for BHIM PNB app?
Ans. To register for BHIM PNB UPI app, users can refer to the below-mentioned steps:
Step 1: Download the application from play store and tap on ‘Click’ to verify your mobile number
Step 2: Read the information provided on the next page and click on ‘Ok’. Select the registered number with the bank
Step 3: Upon number verification, you will be directed to a page where you need to provide details such as: First name, last name, email ID, DOB, gender, mobile number, Aadhaar number, and set your log in password. Click on the check box and the confirm registration